
How to Automate NetSuite Vendor Onboarding
Noca Flows: AI workflow automation you can set up from a plain-language prompt, connected to your CRM, ERP and other systems. Free plan available.
To automate NetSuite vendor onboarding, connect NetSuite to a workflow platform, give suppliers an online form for company, tax and bank details, route the submission for finance approval, generate and sign the vendor agreement, and create the vendor record in NetSuite automatically. No one retypes supplier data, and every step is logged.
What you’ll build
A vendor onboarding workflow in Noca that runs from the supplier’s first submission to an active vendor in NetSuite:
- Procurement sends a supplier a link to an onboarding form, or the supplier finds it on your website.
- The supplier enters company details, contacts, tax information, payment terms and bank details, and uploads documents such as a W-9 or certificate of insurance.
- Noca checks for duplicates in NetSuite and validates required fields.
- Procurement and finance approve the new vendor, with extra review for high-risk categories.
- A vendor agreement is generated from your Word template and signed by the supplier.
- The vendor record is created in NetSuite with the signed agreement attached, and the requester is notified.
Prerequisites
- A NetSuite account with permission to create vendor records, and a role for the integration with only the access it needs.
- A Noca account with the NetSuite integration.
- Your vendor agreement or supplier terms as a Word document.
- Your approval rules: who approves new vendors, and which categories, countries or spend levels need extra review.
- Optional: a chat tool such as Slack or Microsoft Teams for approval notifications.
NetSuite has built-in vendor records and, depending on your account, supplier portal options and SuiteFlow workflows. The approach below adds what usually happens outside NetSuite: a guided supplier form, document collection, approvals, agreement signing and notifications. If you are still choosing tools, see Best AI Workflow Automation Tools in 2027.
How to automate NetSuite vendor onboarding, step by step
Step 1: Connect NetSuite
Add the NetSuite integration in Noca and authenticate with a dedicated integration role. Grant access to vendors, subsidiaries, currencies, terms and file cabinet folders, and nothing more. Noca’s integration logs record every read and write, which helps during testing and later audits.
Step 2: Build the supplier onboarding form
Create the form with the AI form builder by describing it: “A supplier onboarding form with legal name, DBA, address, primary and accounts receivable contacts, tax ID, payment terms, currency, bank details, and uploads for W-9 and insurance certificate. Show international bank fields only when the country is not the United States.” Then refine it:
- Conditional logic: show IBAN and SWIFT fields for international suppliers, and routing and account numbers for domestic ones.
- Validation: require tax ID formats, email formats and mandatory uploads.
- Dropdowns from NetSuite: load subsidiaries, currencies and payment terms so values always match NetSuite lists.
- Signature capture: ask the supplier to confirm the information is accurate.
Step 3: Map fields and check for duplicates
Map each form field to the NetSuite vendor record: company name, legal name, email, phone, address, subsidiary, currency, terms, tax ID and category. Before anything else runs, add a lookup step that searches NetSuite for an existing vendor with the same tax ID or name. If a match is found, route the submission to procurement for review instead of creating a duplicate.
You can describe the whole process in one prompt with Prompt to Flow: “When a supplier submits the onboarding form, check NetSuite for duplicates, ask procurement and then finance to approve, generate the vendor agreement, send it for signature, then create the vendor in NetSuite, attach the signed agreement and notify the requester in Slack.” Noca builds the steps, and you review each one.
Step 4: Add approvals
Add an approval workflow with clear rules:
- Procurement approves every new vendor.
- Finance approves bank details, because payment fraud often starts with altered bank information.
- Legal or compliance reviews vendors in regulated categories or high-risk countries.
- Reminders go out after one business day, and requests escalate after three.
Approvers can respond by email or from Slack, and every decision is stored with a timestamp. For more patterns, read What Is an Approval Workflow? Examples and Templates and how to send Slack approval requests from any form.
Step 5: Generate and sign the vendor agreement
Upload your vendor agreement to Noca Document Generation and add merge fields for the supplier’s legal name, address, signatory, payment terms and effective date. Use conditional sections for clauses that only apply to some suppliers, such as data protection terms for vendors that handle personal data. After approval, Noca generates a PDF and sends it to the supplier’s signatory for e-signature, then stores the signed copy.
Step 6: Create the vendor in NetSuite
Once the agreement is signed, the workflow creates the vendor record in NetSuite with the mapped fields, attaches the signed agreement and supporting documents, and sets the vendor to active (or leaves it inactive until a final check, if your policy requires that). It then emails the supplier a welcome message and posts a confirmation to the requester in Slack.
Step 7: Test the workflow
Test in a NetSuite sandbox if you have one. Submit a domestic supplier, an international supplier, a duplicate, a submission missing a document, and one that an approver rejects. Confirm that each vendor lands in the right subsidiary with the right currency and terms, and that rejected or duplicate submissions never create records.
Example scenario: onboarding suppliers for a growing distributor
Illustrative scenario based on a typical setup, not a specific Noca customer.
A distributor on NetSuite onboarded suppliers through email threads and spreadsheets. Procurement retyped details, finance chased bank letters, and vendors were sometimes created twice. With a Noca workflow, suppliers complete one form, duplicates are caught before approval, finance confirms bank details in Slack, and the signed agreement and vendor record appear in NetSuite together. Procurement now spends its time on supplier relationships instead of data entry. Once vendors are live, the same NetSuite connection can produce purchase orders; see how to generate invoices and purchase orders from NetSuite.
Common mistakes to avoid
- Accepting bank changes by email. Route every bank detail through the form and finance approval, never through an inbox.
- Skipping duplicate checks. Search by tax ID as well as name, since names vary between submissions.
- Free-text fields for NetSuite lists. Load subsidiaries, currencies and terms from NetSuite so mapping never fails.
- One approval for everything. Add extra review only where risk is higher, so low-risk vendors move quickly.
- Over-permissioned integration roles. Give the integration access only to the records it needs.
- No owner for exceptions. Decide who handles rejected, incomplete or duplicate submissions before go-live.
Next steps
Extend the workflow to annual re-verification of supplier documents, insurance expiry reminders and supplier offboarding. For the full process beyond NetSuite, read how to automate vendor onboarding end to end, or compare tools in best vendor onboarding software. If you use Priority ERP, the same pattern applies with the Priority integration.
Frequently asked questions
Can NetSuite automate vendor onboarding on its own?
NetSuite stores vendor records and supports workflows inside the ERP, and some accounts use supplier portal options. Most teams still add a tool for the supplier-facing form, document collection, approvals and agreement signing that happen before the vendor exists.
What information should a vendor onboarding form collect?
Collect legal name, address, contacts, tax ID, payment terms, currency and bank details, plus documents such as a W-9 or insurance certificate. Use conditional logic so domestic and international suppliers only see the fields that apply to them.
How do I prevent duplicate vendors in NetSuite?
Add a lookup step that searches NetSuite by tax ID and name before approval. If a match is found, send the submission to procurement for review instead of creating a new record.
How can I reduce vendor payment fraud during onboarding?
Collect bank details only through a secure form, require finance approval for them, and never accept changes by email. Keep an audit trail of who submitted and approved each detail.
Can the supplier sign the vendor agreement online?
Yes. Noca generates the agreement from your Word template with the supplier’s details and sends it for e-signature. The signed copy is stored and attached to the vendor record in NetSuite.
How long does it take to set up?
A basic form, approval and vendor creation flow can be built in a day, especially when you start from a prompt. Allow extra time to test in a sandbox and agree approval rules with procurement and finance.
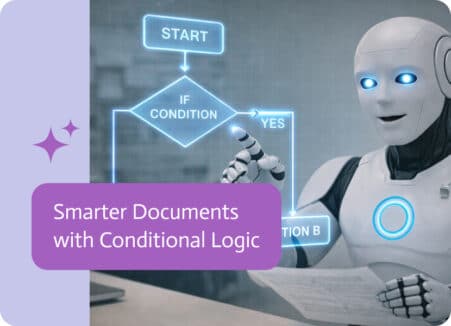
In a world driven by data, static templates are no longer enough to meet the needs of a modern business. Conditional logic transforms standard documents…

NetSuite EDI Integration is a powerful solution that connects Electronic Data Interchange (EDI) systems with NetSuite’s cloud-based ERP. It enhances data exchange processes by making…
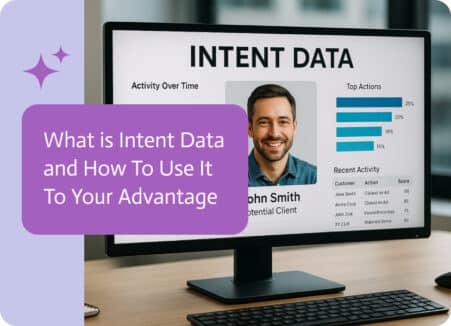
Intent data can be compared to intercepting a conversation on the internet “legally”, of course. It is the visible evidence searchers leave behind when exploring…